1. Create Printful Account + Store
If you don't have a Printful store yet, start here.
- Login to your Printful account. If you don’t have one, you can create one by clicking “Sign Up”. It’s free!
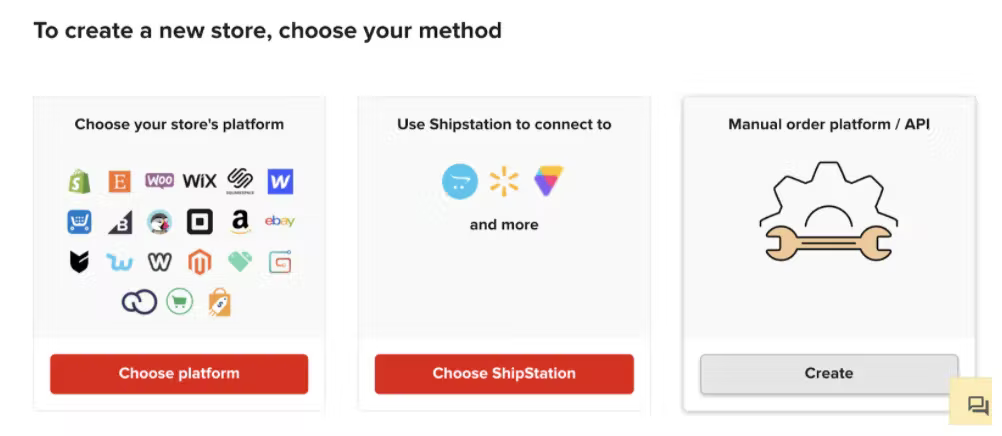
- Once you login, go the “Stores” tab, and choose “Manual order platform/API”
- Name your store. This won’t be shown publicly anywhere, so you can name it anything.
2. Create Products
Once you've created a store, you can start adding your products.
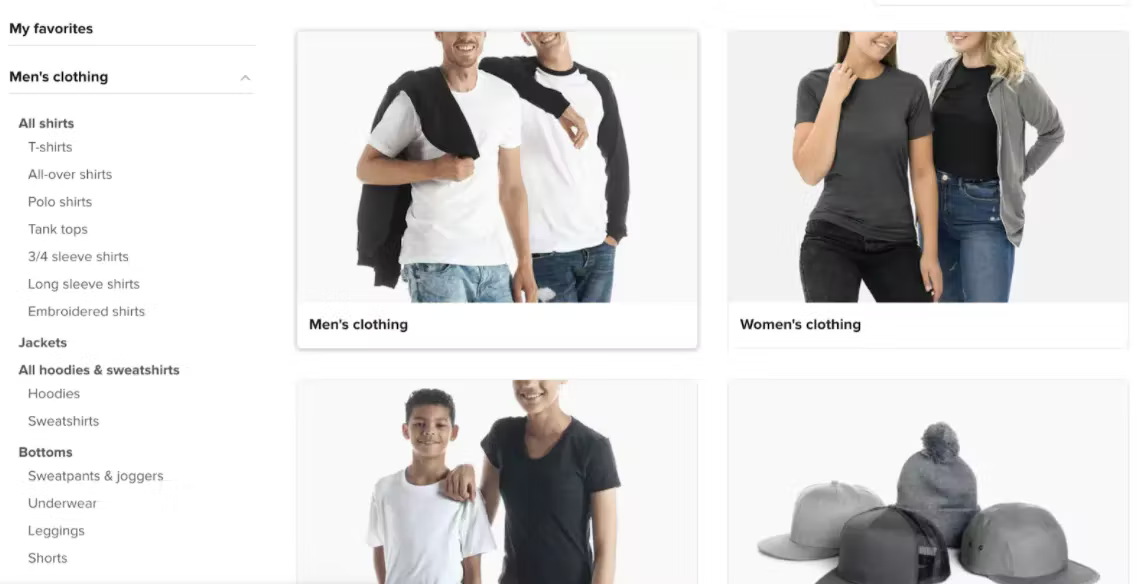
- You can then start adding and creating products by clicking on “Add Product”
- Choose the type of product you want to sell & customize the product to your liking.
- Set a retail price for your product. You can input how much profit you want to make for each order.
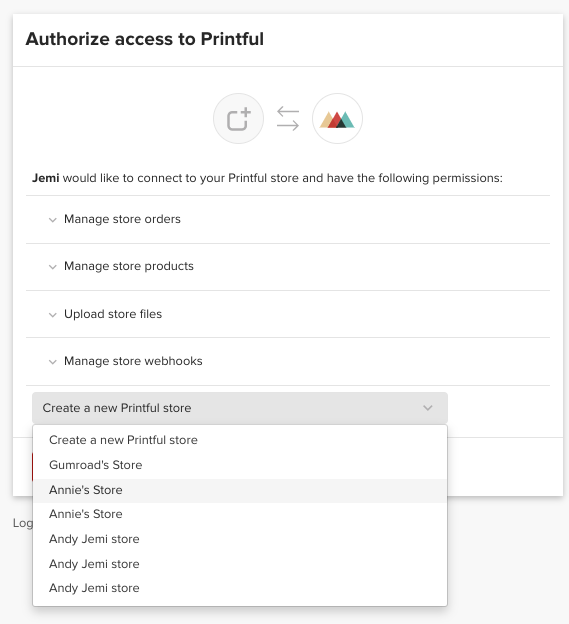
3. Connect your Printful to Jemi
Once you’ve set up your products, all that is left is to connect your Printful account to Jemi.
- Go to the Printful Section under Jemi Dashboard > Integrations > Printful.
- Click "Connect".
- Choose the Printful store you created that you want to connect with your Jemi site and then click "Authorize".
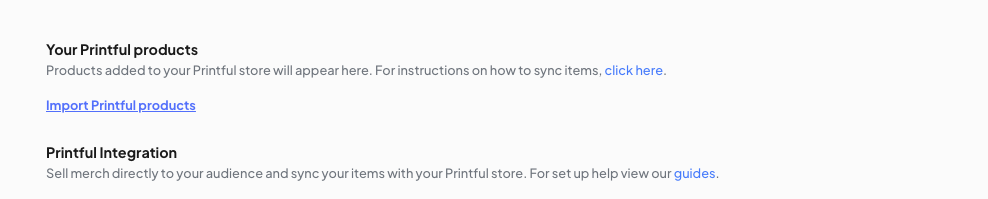
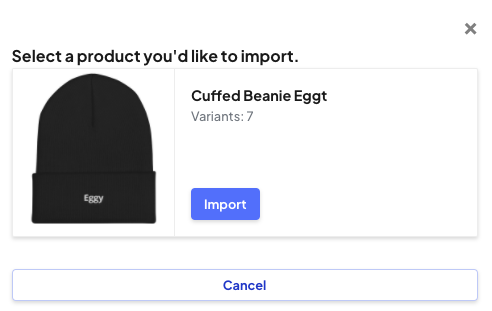
- Click "Import Printful products" and import the products that you want to connect with your Jemi store.
- Once successfully imported, you should see the Printful products appear under Commerce > My Products.
4. Add the Printful shop item to your website
The last step after importing your Printful shop items is to add them to your website.
- Go back to your Website Builder.
- Click the + sign at the desired place you'd like to place your new Printful shop item.
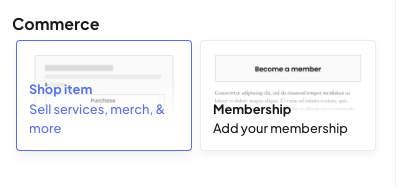
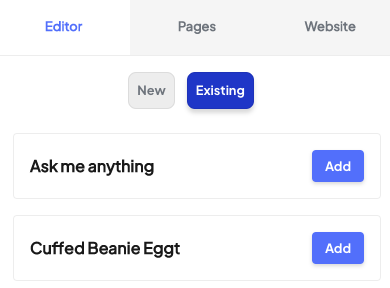
- Click on "Shop Item", and then choose "Existing".
- Click on "Add" for the shop item you want to add.